Moving to the UK
04 Aug 2020, updated 29 Aug 2020In this chapter I’ll detail:
- Flights
- Border control
- Immediate accommodations
- SIM cards and data plans
- Bank accounts
- Renting in London
- Registering with a GP practice
- Getting an NI number
- Driving Licence
- Correcting my tax code
After informing my sponsor of the positive result of the application and agreeing the start date to commence employment, we knew that we needed to move quickly to get our affairs in the Philippines in order, as well as plan and arrange for travel to and accommodations in the UK.
Between me and my spouse we’ve decided that it would be best if I flew out first, and them shortly after. It would allow me to be in the UK by my start date (which was in about two weeks), and them to finalise work and other commitments.
Flights

My tickets
On 1 June 2020 we booked my flight from Manila to London. Given we didn’t have the luxury of doing this ahead of time and waiting for the best price, this one-way economy flight was not the cheapest; the total charged to us by Singapore Airlines was ~SG$2,156 (~£1,046 as of then) and 39,592 KrisFlyer Frequent Flyer miles. Due to availability issues, we had to book the two legs of the journey separately, which was the primary reason why the cost was so stellar.
Had it been available then, a one-way flight from Manila to London (with a Singapore layover) as a single booking was half the price of a flight booked from Singapore to London. Bookings originating from Singapore are expensive!
I left Manila on 10 June at 1830H, and landed in Singapore three and a half hours later at 2205H.
After a three-hour layover, we departed Singapore at 0110H the next day (11 June) going to London. I arrived in London Heathrow airport thirteen and a half hours later at 0745H.
My spouse’s tickets
As time was on our side in this instance, we had the benefit of properly planning for my spouse’s tickets which were booked on 30 June. For this we were able to secure an economy flight from Manila to Singapore in a single booking with Singapore Airways, which costed ~SG$830 (~£392 at the time) and 7,350 KrisFlyer Frequent Flyer miles.
They left Manila on 24 July at 0740H, arriving in Singapore three and a half hours later at 1110H. A very short layover of about an hour followed, which after all the arrival security checks involved racing from one terminal to another just to barely make it in time to board the 1235H flight to London.
They arrived in London Heathrow on 24 July at 1905H.
Border control
Stepping off the plane and making my way through border control, it felt quite funny (perhaps fitting, maybe even a bit poetic) that my very first experience in the United Kingdom was the great and long-held tradition of queueing.
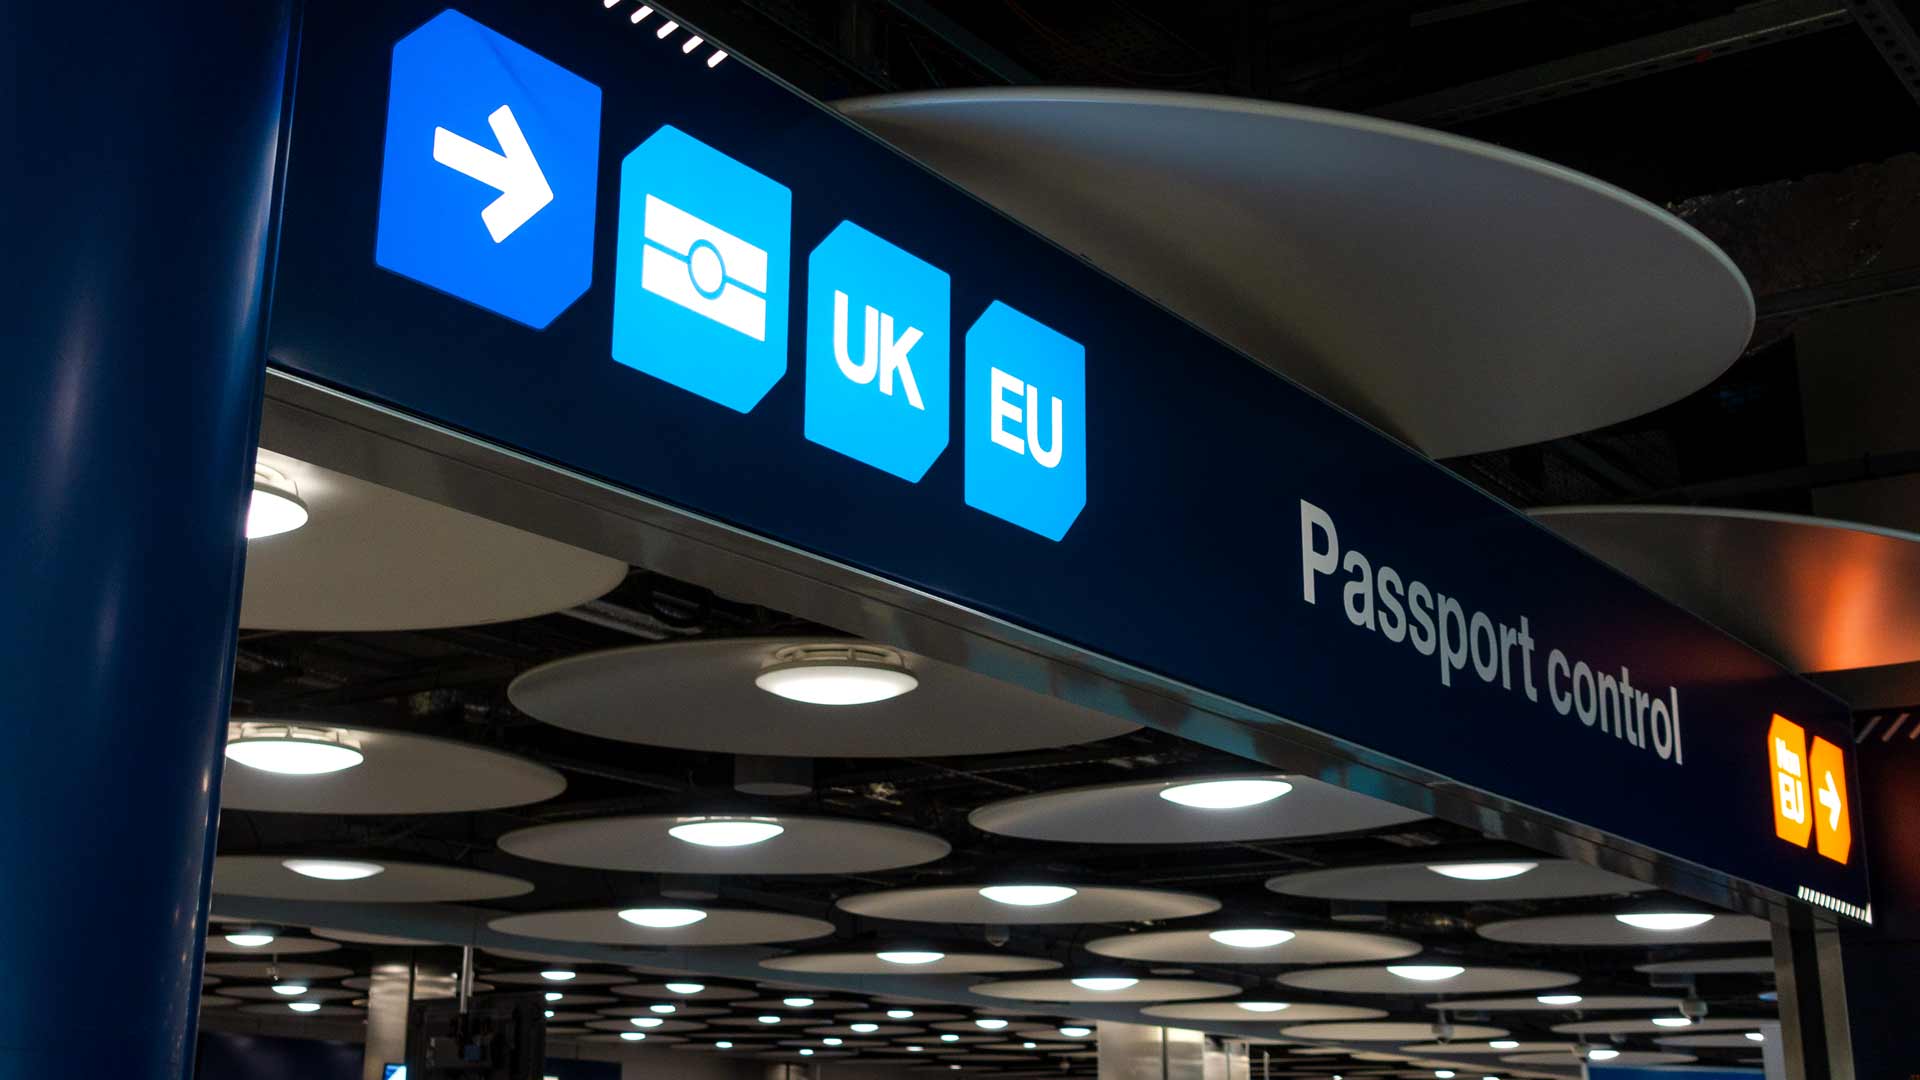
Heathrow was (and still very much is) an incredibly busy airport; the number of people in line to get into the UK was massive. It took me nearly two hours to get through to the immigration counter, where the process was surprisingly painless. The officer was warm, polite, and respectful – the exchange felt like it was more of a conversation rather than an interrogation.
I was asked basic questions such as who my employer was and what was the title of my role. I confirmed it was indeed my first time entering the UK. My fingerprints were checked and in (at most) two minutes – which was quite the contrast and juxtaposition with my two hour wait to get there – my passport was stamped and I’ve cleared immigrations.
My spouse’s experience was similar, which was unsurprising given the amount of vetting we already had to go through just to come here. As a Tier 2 visa holder we were lucky – they knew we were here for work, that we had the right skills, that we had our finances in order, and that we intended to make the UK our long-term home.
Immediate accommodations

My spouse had family in the UK already and I stayed with them for a few days while I settle in and find temporary accommodation prior to renting a property long-term.
On 14 June I moved to an Airbnb rental in Southeast London where I was to stay for a month until 12 July 2015, costing ~£932 at the time. My main priority then was to view properties and secure a suitable place prior to my spouse’s arrival on 24 July, during evenings after work and on weekends. I was mostly successful in this endeavour, but the flat we wanted was unavailable for move-in until 18 July.
I’ve then booked another Airbnb rental (this time in East London, close to the flat we will be renting long-term to make moving easy) from 11 July to 18 July, negotiating with the prior Airbnb host to leave one day early (with the appropriate refunds). This was a much nicer Airbnb home which costed us ~£493 at the time.
SIM cards and data plans

SIM cards in the UK are normally free and can be ordered online or in-store.
In order to avoid roaming fees, I needed to get a local number very quickly so I opted to drop by one of EE’s (one of the popular providers in the UK) stores for a pay-as-you-go SIM. This is a prepayment arrangement where I top-up using my debit or credit card in-store, online, or via SMS, and in turn allowed me to send SMS, make calls, and use data. You can also use your credits to buy various kinds of “packs” which gave you chunks of minutes, texts, and data at a reduced price for an upfront cost. There are packs for those who use more data than calls, or for those who mostly texts, or for those who like a little bit of everything – these are very cost-effective especially if you know what kind of pack best suits you.
Eventually, once I had my bank account set-up I converted to a pay monthly contract which offered me better value given my usage patterns.
Bank accounts
 In the UK, people who want to open a regular bank account need two things:
- Proof of identity
- Proof of address
These makes it tricky for new immigrants to open a bank account as while they would have a proof of identity (their passport), getting a proof of address is more challenging as at this very early stage they wouldn’t have utility bills or other documents in their name that ties them to an address.
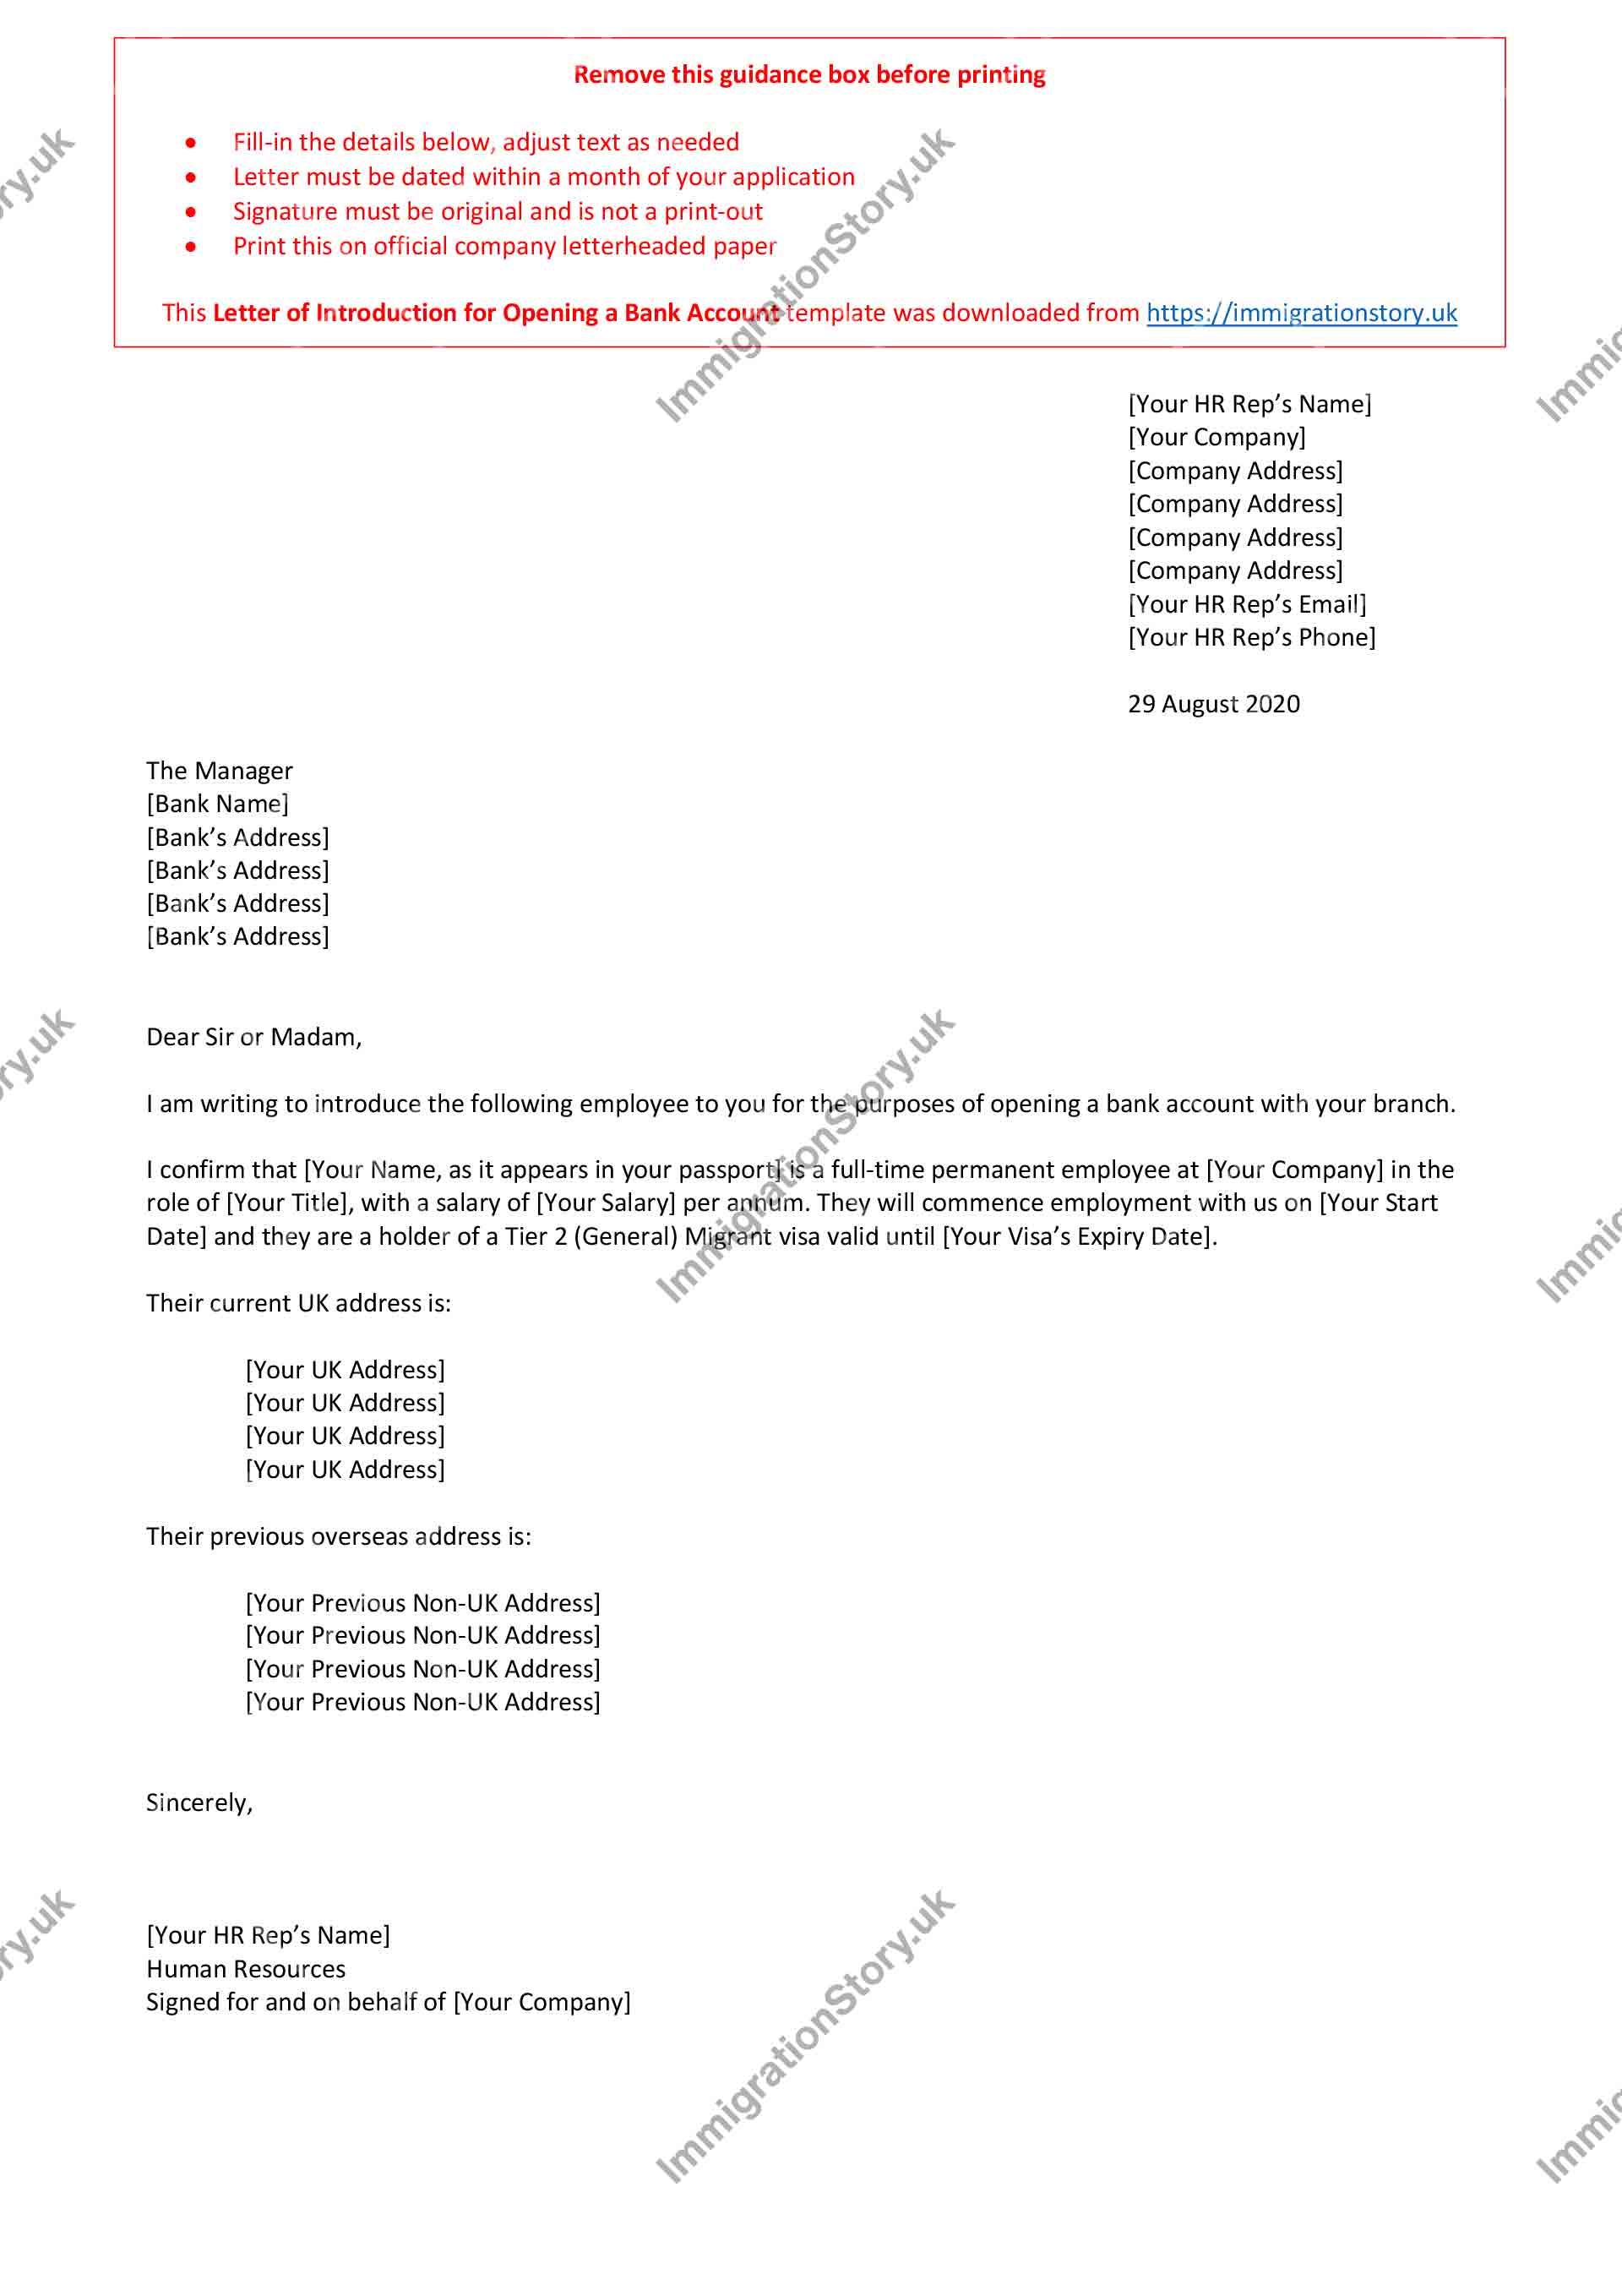
Thankfully in my case, given their size my employer already had existing relationships with a number of high-street banks. In lieu of a proof of address, the bank manager of a branch I’ve gone to has confirmed that if I were to present to them a letter of introduction from my employer, they will be happy to open an account for me. The letter of introduction needed to contain the following information:
- my full name as it appears in my passport
- my current address (this is where the bank will send your card and other documents – I’ve used the address of my spouse’s family here in the UK after confirming with them)
- my previous address (this is my Philippine address)
- my current role with the company
- my employment start date
- the fact that I am a full-time permanent employee
Additionally:
- the letter must be an original (not scanned, and must be on official company headed paper)
- the letter must be dated within the last month
- there must be a contact name and telephone number included from whoever has signed the letter
- the signature must be original, not scanned
I’m sharing the template I’ve originally used; download the letter of introduction for opening a bank account here. This has placeholders for all the information noted above, and guidance on how to fill-out and print the document. Edit it accordingly, print it on official company letterheaded paper, and have it signed by your HR representative.
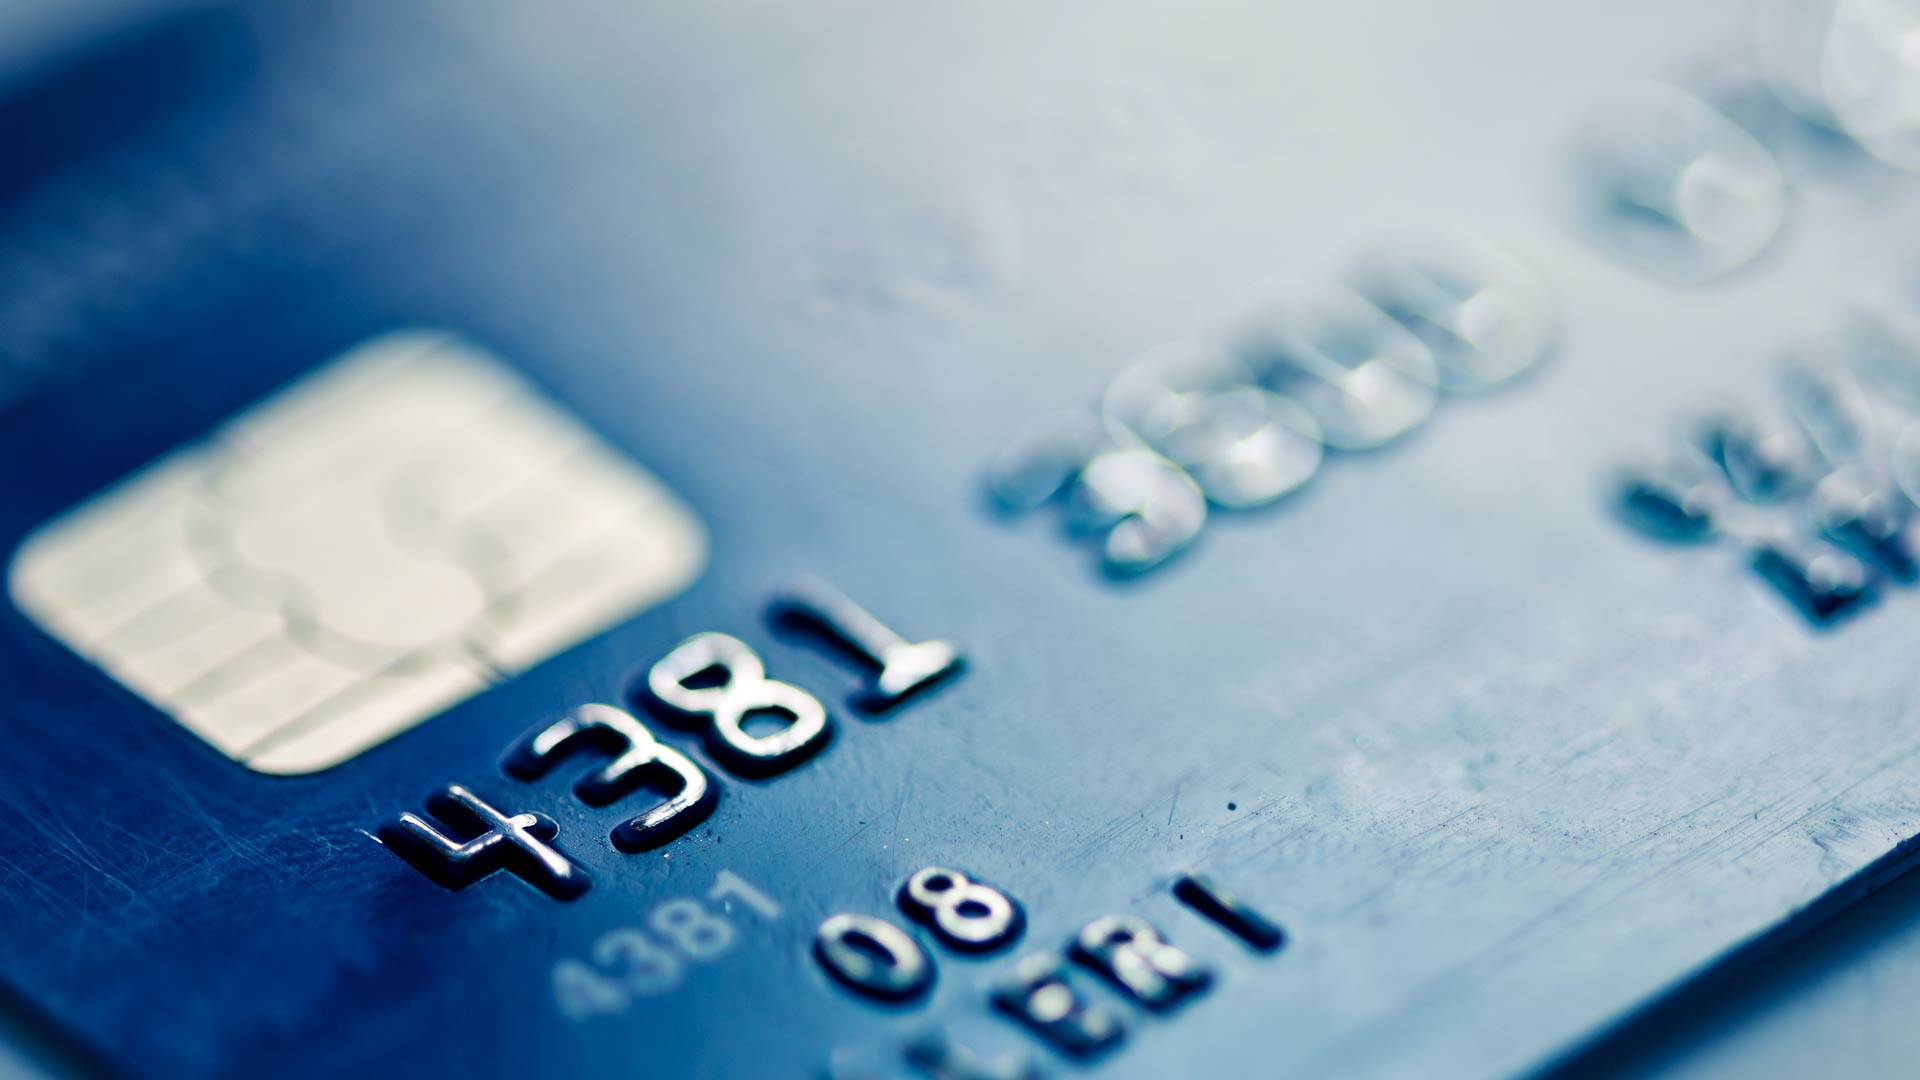
Given this I was able to open a bank account (and a credit card) and relay the bank account details to my employer for purposes of payroll. In the UK, this consists of two numbers:
- sort code: identifies your bank and your branch, this is six digits in the format of 00-00-00
- account number: identifies your account for that bank, this is eight digits in the format of 00000000
Applying for local accounts as early as you can is absolutely essential; now that I had debit and credit card in Pounds Sterling, I no longer needed to use my Philippine cards (which incurs heavy foreign transaction fees) or carry around cash. This also makes engaging with property agents easy as now I had the means to easily and securely pay them the deposit as well as the actual monthly rent.
While the bank did provide me a chequebook, it was stressed that it’s not something commonly used in the UK. Cheques are mostly regarded as an antiquated payment instrument that’s been made irrelevant by more secure (and more convenient) methods such as direct debits and faster payments, which are fee-free instant bank-to-bank money transfers.
Renting in London
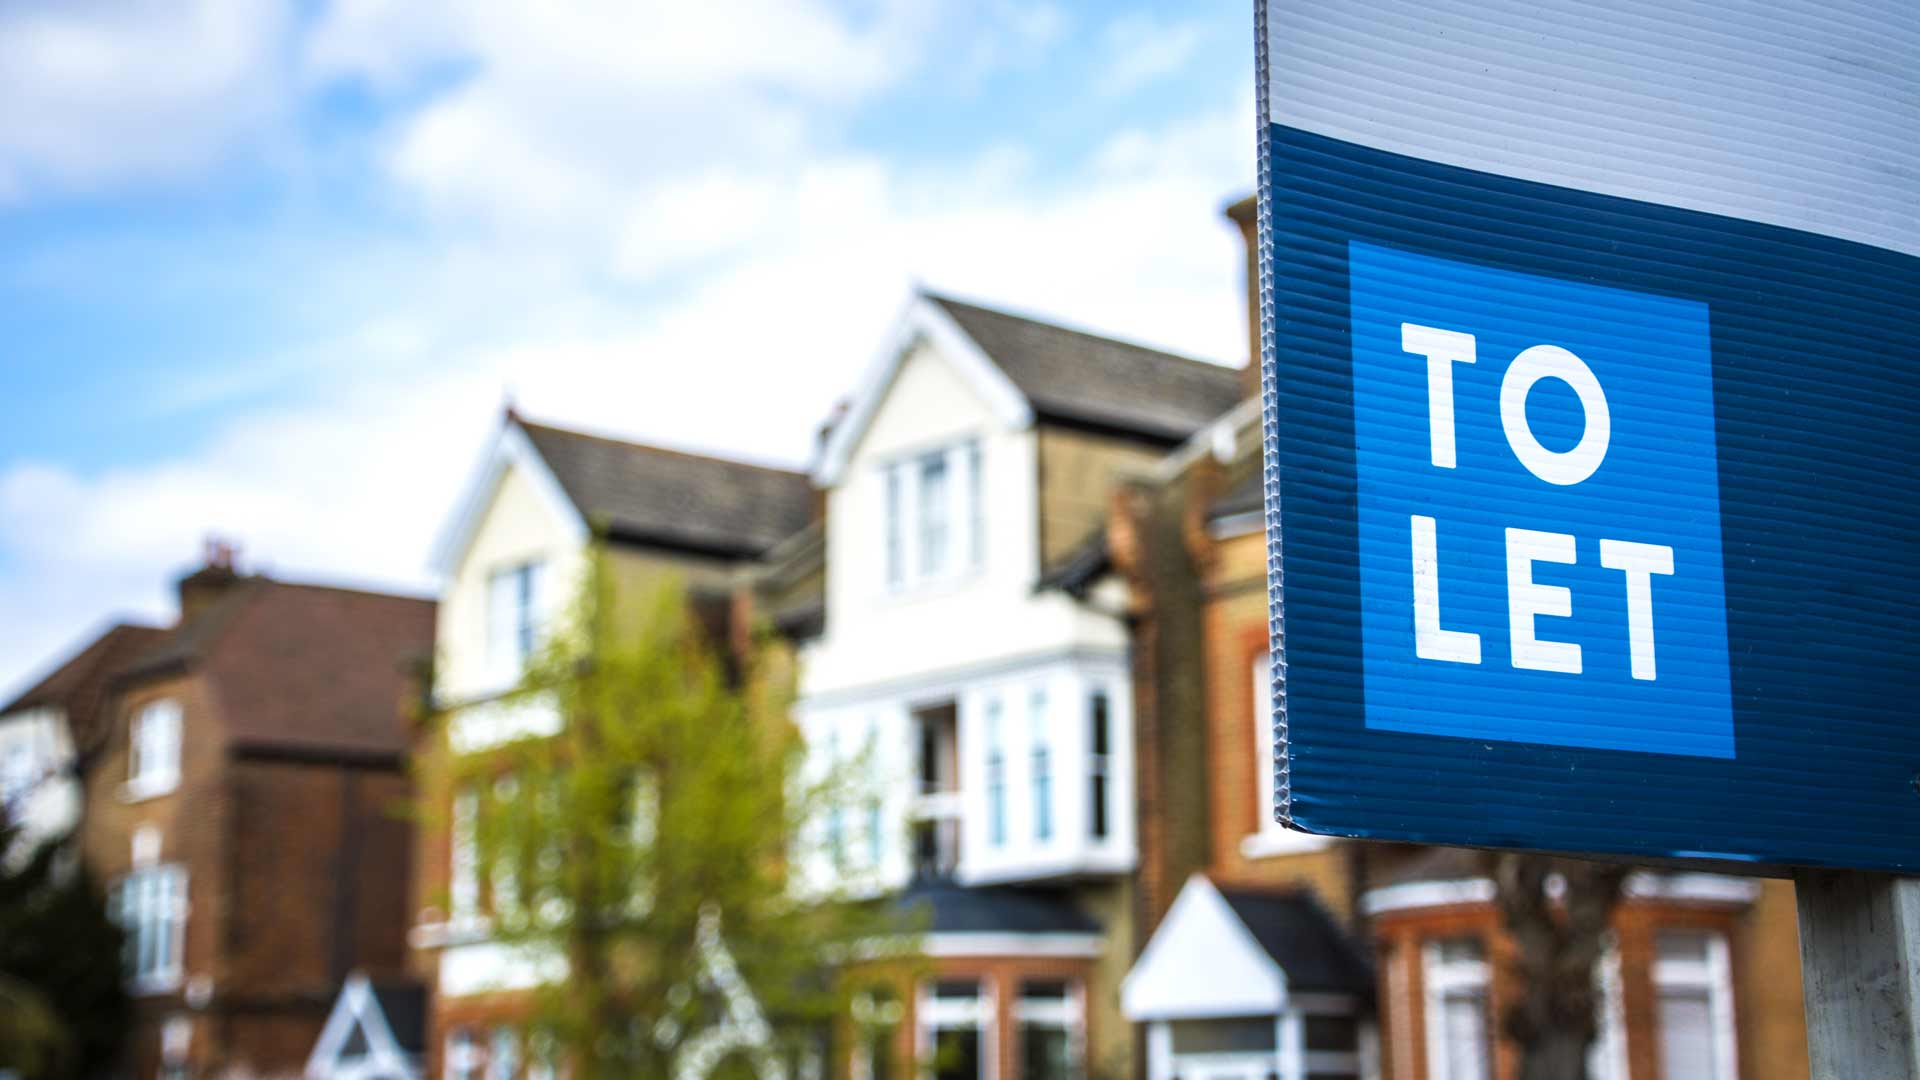
London is not a city where you can rent for cheap. According to a paper1 released by Deutsche Bank Research in 2019, London is the 6th most expensive city in the world to rent in, just behind Paris, Zurich, New York City, San Francisco, and finally Hong Kong which is at the top of the list.
Combining the high costs with the fact that many people are looking to rent property in the city, the government have set strict rules to regulate and license estate agents who operate in this industry in order to protect people from scams.
Most renting is done via estate agents who will match you with properties according to your specifications and budget. Renting directly with landlords is unusual and is not the norm, as this offers renters less protections and guarantees in many areas, such as tenancy deposit fees. Renting directly with a landlord is not something that I can recommend as it opens you to unnecessary risks; for your protection ensure you go to an estate agent, and ensure that they are licensed and is a member of a government-approved redress scheme.
Once you commence your tenancy it is your responsibility to inform the utility companies (power, water, gas, heating, phone, internet) that you’ve moved in so they can send the bills in your name. You will also need to inform the local council so they can send you your council tax bills. Council tax bills can be substantial; do ensure you ask you estate agent what is the council tax band for the property so you can factor it in your monthly budget.
In order to make things easy for my spouse, even before they’ve arrived I included their name in the bills so that they immediately will have a valid proof of address that they can use.
Registering with a GP practice

Healthcare via the NHS is free for people ordinarily resident in the UK. Those who come to the UK to stay for more than six months pay the Immigration Health Surcharge in order to get access to the NHS like those resident in the country.
In order to consult with a general practitioner (GP) you must register with a GP practice. Normally you’d find one close to where you live, or where you work – wherever is most convenient. This practice then becomes your “home” practice where you go to for routine check-ups and appointments. In the UK, your GP is usually who you see first if you have a non-emergency ailment or concern, and they will refer you to specialists as needed. For urgent care, you need to go to the A&E (“Accidents and Emergency”) department2, also known as the ER (“Emergency Room”) in other countries.
You will be assigned an NHS Number3 if you are registering with a GP for the first time. This identifies you uniquely in the NHS system, tying all your medical records together regardless of what clinic you go to or which doctors you see. Your NHS number stays with you even if you move home and change GP practices.
Getting an NI number
In order to qualify for state pension and other benefits, you will need to pay National Insurance4 contributions for a certain amount of years. NI is usually not paid separately; your employer automatically will take this (along with your income taxes) from your wages whenever you get your salary, and a breakdown of all the deductions will be listed on your payslip.
Before you can actually pay your contribution, you will need an NI Number, also known as NINo. If you do not have this already, you will need to apply for one, and then provide the number to your employer once you receive it so you ensure that your contributions are recorded correctly against you.
Tier 2 (General) applicants issued a BRP will normally already have an NI Number automatically issued, and can be found at the back of the BRP card. Tier 2 (General) Dependants will not get this automatically and will have to apply.
Driving Licence
As an immigrant you’ll find that many things in the UK require having and carrying a valid form of identification, be it applying for bank accounts, signing up for phone contracts, or buying a drink at a pub. Given how important your passport and your BRP is, it is generally unwise to have them with you at all times due to the difficulty of getting them replaced in cases of theft or loss.
It is thus very important that you get an alternative ID that you can use on a day-to-day basis. It needs to be valid for use as a proof of identification and a proof of address, and must be something that can be easily reissued if needed. A UK Driving Licence is one of the very few forms of ID that fulfils all of these requirements.
There are two main kinds of driving licences is the UK:
- Provisional driving licences allow you to learn to drive on all UK roads (except motorways) provided you are supervised
- Once you pass your theory and driving tests, you can convert your provisional driving licence into a full driving licence which allows you to start driving without supervision
Both kinds are valid forms of ID. To apply for a provisional driving licence, the only requirements are:
- A valid ID such as your passport or your BRP
- Your previous addresses
- Your NI Number
Applications can be made online at the UK Government’s official application page. As of the time of writing, online applications cost £34.00. You normally will get your driving licence photocard in the post after a month.
Correcting my tax code
Normally when you switch jobs in the UK, you are given a P45 form by your old employer that you in turn submit to your new employer. This form contains the details of how much tax you’ve already paid, which allows them to work out how much more to take, given your salary.
As this was my first job in the UK, I had no such form to submit. This led to my employer having no information on my current tax situation and being assigned an emergency tax code5 (which was “0T M1” at the time). Tax codes contain a lot of information (“0T” for instance means zero tax-free allowance), all of which allows your employer to know how much income tax they should take from your pay.
Having an emergency tax code meant that I was taxed at the highest level for all my income. You should check if your tax code is correct, and if it is not, you need to tell HMRC and they will inform your employer of your revised tax code.
In my case, I called HMRC to explain to them the situation, making them aware that this was my very first job in the UK. My tax code was then corrected and I was issued a refund of the tax overpayment.